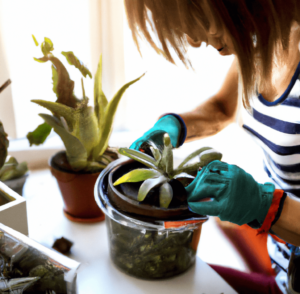
A crucial stage in gardening is learning how to transplant seedlings so that young plants can grow and develop in a bigger, better habitat. This method can lead to healthier, more robust growth and is crucial for giving plants the room and resources they require to thrive. Whether you are an experienced gardener or a novice just getting started, here’s our guide!
Preparing the Seedlings
When you learn how to sow seeds, you need to prepare them before learning how to transplant seedlings:
- Select seeds that are suitable for your region’s climate and season. Make sure the seeds will sprout in your region by reading the package or doing some research.
- To give them a head start before being transplanted into the garden, most seeds need to be started indoors. To start your seedlings, use seed trays, pots, or peat pellets.
- Warmth and light should be provided appropriately for seedlings to grow. Keep the temperature between 65 and 75 degrees Fahrenheit and place them near a window or beneath a grow light.
- Maintain adequate soil moisture without allowing it to become soggy. Underwatering will prevent your seedlings from growing properly while overwatering will result in root rot.
- Your seedlings need to be “hardened off” before being inserted into the ground. This entails exposing them to the elements gradually by leaving them outside for brief amounts of time, then extending that time each day until it is safe to leave them outside all night.
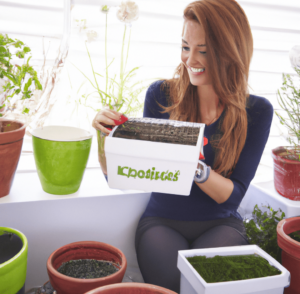
Choosing the Right Seedlings
So, how do you learn how to transplant seedlings? We’ll get to that soon, first, choose the right seedlings this way:
- Choose seedlings that are the right size-not too small or large. Depending on the type of plant you are planting, the ideal seedling size will vary, but in general, seedlings should have a strong stem and well-developed leaves.
- Look for seedlings that are uninfected and free of pests. Healthy seedlings will have lush, green leaves that are not withering or becoming yellow.
- Make sure the roots are properly established and not too crowded. Stunted growth and trouble absorbing water and nutrients can result from overcrowded roots.
- Take into account the plant’s life cycle. Select seedlings that are established and have many sets of leaves if you’re planting perennials. Select seedlings that are more strong and smaller if you are growing annuals.
Hardening off the Seedlings (Preparing Them for Transplanting)
Before learning how to transplant seedlings, it’s crucial to adequately harden them off in gardening. This procedure increases the young plants’ chances of survival and success by preparing them for the shock of being transplanted from a controlled environment to the outdoors.
The seedlings are gradually exposed to external circumstances over a period of 7-10 days as part of the hardening-off process. You can achieve this by keeping them in a safe space for progressively longer periods of time each day, like a cold frame or covered porch. The plants are exposed to more direct sunlight, wind, and lower temperatures as the days go on.
During the hardening-off process, it’s crucial to keep a close eye on the seedlings and move them indoors or into the shade if they seem to be withering or in distress from the weather. To assist the seedlings adapt to their new environment, water them thoroughly after planting them at the same depth as they were in their seed tray.
Preparing the Site
There are different gardening guides on preparing the area you’ve chosen for planting. In general, you should learn how to transplant seedlings after choosing the right location and preparing the soil.
Choosing the Right Location (Sunlight, Soil, etc.)
To choose the right location after you’ve learned how to transplant seedlings think about:
- Sunlight: Since different plants have varying needs for sunlight, it’s critical to understand the particular requirements of the seedlings you are transplanting. While some plants prefer partial shade, others require full sun.
- Good soil: Make sure the soil you are transplanting into has the proper pH level for the plants you are cultivating and is well-draining.
- Distance: Give seedlings enough room to grow and spread out by leaving an appropriate distance between them. Plants that are crowded may experience stress, which can stunt growth and diminish yields.
- Wind: Take into account the local wind patterns where you wish to transplant. It’s vital to find a place that offers some wind shelter because strong winds might harm seedlings.
- Planting with companions: Some plants thrive when placed close to particular species. When choosing a location for your seedlings, keep this in mind.
Preparing the Soil
The soil must be ready for plant growth before applying what you’ve learned in how to transplant seedlings. This procedure entails adding organic matter to the soil, tilling it to make it lose and aerated, and evaluating the pH of the soil to make sure it is in the right range for the plants you are cultivating.
Compost, well-rotted manure, or other organic matter can be added to the soil to amend it and increase its fertility and structure. This will assist in giving the plants the nutrients they need to flourish and will also aid in enhancing the soil’s capacity to hold water.
To assist loosen up compacted soil and produce a loose, aerated structure that will allow the roots of the seedlings to develop and penetrate the soil readily, till the soil to a depth of 8 to 12 inches.
It is crucial to evaluate the soil pH before planting to make sure it is in the right range for the plants you are cultivating. The pH of the soil should be between 6.0 and 7.0 for most plants, although some may require a higher acidic or alkaline pH. To measure the pH of the soil and make any necessary modifications, utilize a soil test kit.
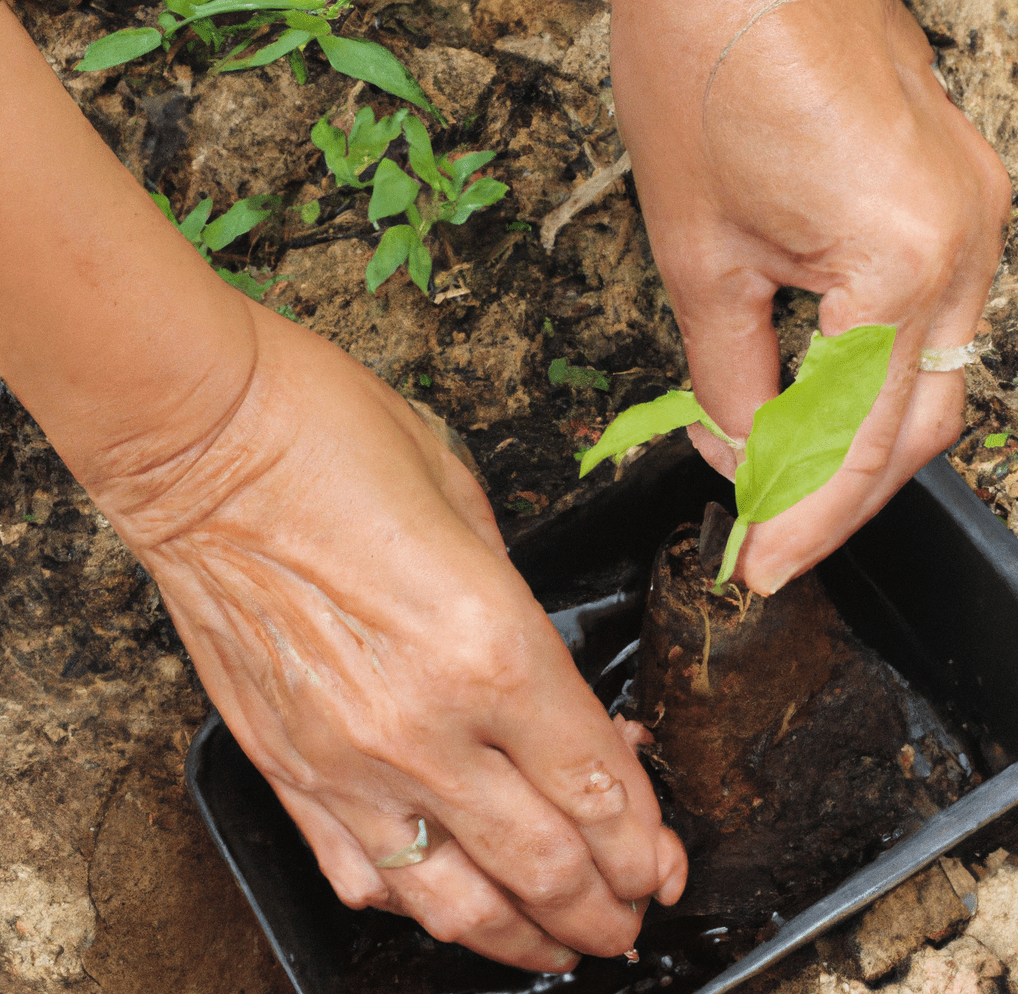
Transplanting the Seedlings
Now, here’s how to transplant seedlings:
- To lessen transplant shock, gardening professionals advise transplanting seedlings on a cloudy day or in the late afternoon.
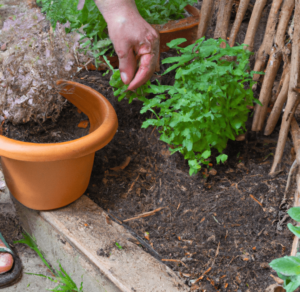
- To transplant seedlings, prepare the ground by excavating a hole that is big enough to fit the seedling’s roots. In order to give the plant a healthy environment to thrive in, the dirt in the hole needs to be loose and nutrient-rich.
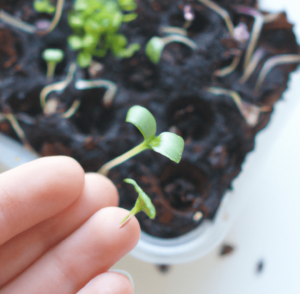
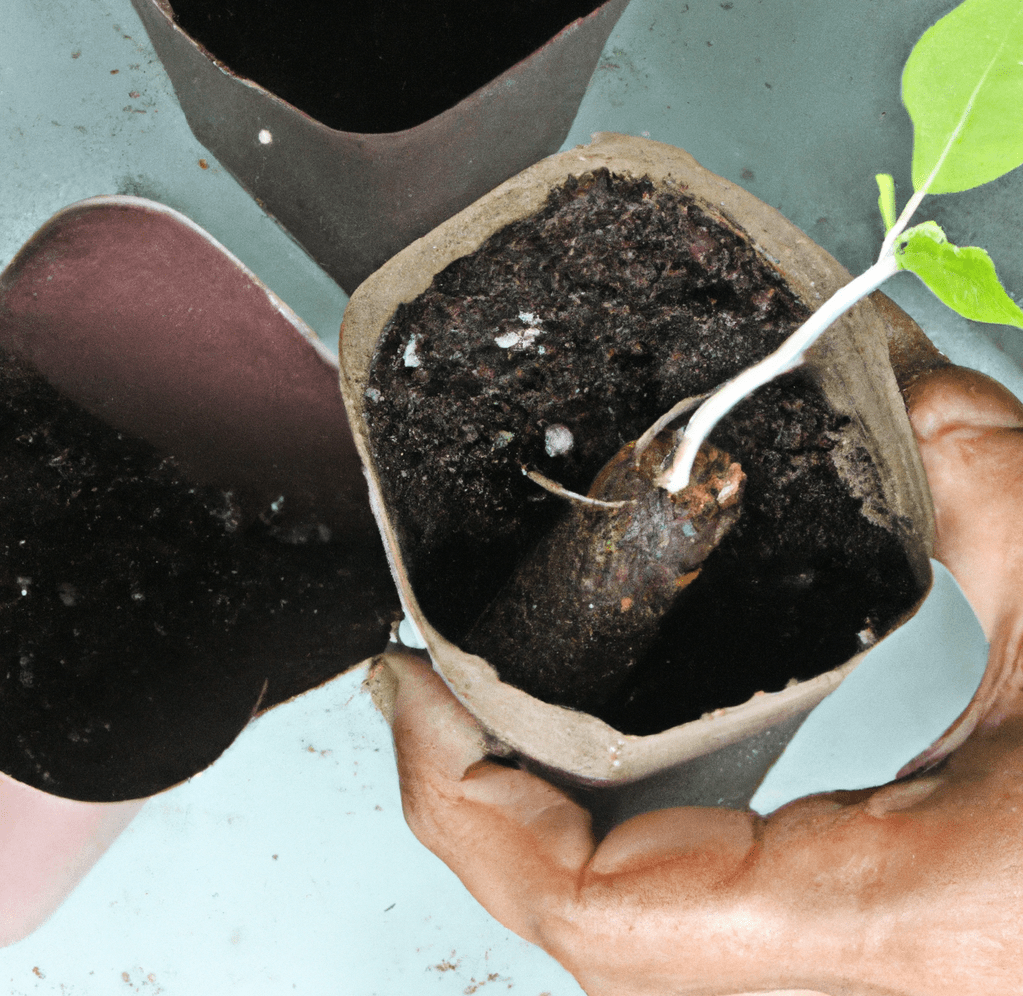
- The seedling should be carefully taken out of its current container, taking care to avoid damaging the roots.
- Put the seedling in the hole and cover the roots with the earth.
- To help the seedling adapt to its new environment, give it plenty of water. Your seedlings will have the best chance of growing and flourishing in your garden if you transfer them. Enjoy your garden!
Techniques for Transplanting Seedlings (Depth, Spacing, etc.)
Now that you know how to transplant seedlings, there are different techniques to keep in mind:
- Plant seedlings at the same depth that they were growing at when they were growing in their original container. Overburdening the stem could lead to the plant rotting. The plant may die if it is planted too shallowly because the stem will dry up.
- Maintain adequate seedling spacing to promote healthy growth and development. This will depend on the particular requirements of the plants you are moving.
- preparing the soil Before transplanting, loosen the soil and add compost or other organic material to the planting hole. This will hasten root establishment and encourage strong growth.
- To assist your seedlings to adapt to their new environment after transplanting, give them a good soak. It’s important to avoid overwatering because this can result in soggy soil and root rot.
- If seedlings are tall or prone to toppling over, think about adding a stake or other support to help keep them upright.
How to Handle Seedlings During Transplanting
Sure, you can read about how to transplant seedlings but what about handling them? When transplanting seedlings, handle them gently to prevent bruising the tender roots. To carefully remove the seedling from the container, first, loosen the soil around the roots with your hands or a tiny trowel. Make sure the top of the root ball is level with the dirt when you plant the seedling in the transplant hole.
Care After Transplanting
After learning how to transplant seedlings, you’ll need to give them the proper care:
- Watering: After transplanting, give the seedlings plenty of water to help the soil surrounding their roots settle. Don’t overwater your plants because this can cause root rot.
- Light: After transplanting, seedlings may be sensitive to strong light, so gradually adapt them to direct sunshine.
- Temperature: To lessen stress, keep the seedlings in a warm, covered environment. Be careful not to overheat them, though.
- Soil: To keep the soil at the right moisture levels for the seedlings, check the soil frequently and adjust watering as necessary.
- Fertilizer: For a few weeks following transplanting, refrain from fertilizing the seedlings since this may stress the plants. You can begin to apply a balanced fertilizer to promote healthy growth after a few weeks.
- Staking: Staking is the method of supporting a plant by using a stake, such as a wooden or metal rod. This helps plants remain upright and minimizes damage from wind or other environmental variables, which is especially beneficial for tall or leaning plants. Staking also aids in preventing the plant from toppling over, which may harm the plant’s roots or other components.
- Pruning: To encourage healthy growth, this entails removing any leaves, stems, or branches that are dead or damaged from the plant. Additionally, pruning helps the plant keep its shape and enhances its look.
- Pest and disease control: Regularly checking the garden for indications of pest infestations or disease outbreaks can aid in the early detection and resolution of any problems before they get out of hand. Controlling pests and diseases can be done in a number of ways, including physically, culturally, and chemically. Physical solutions include using barriers to keep pests out or manually removing sick plants and pests. Crop rotation, appropriate watering and fertilizing, and upholding garden hygiene are just a few examples of cultural practices. Pesticides and fungicides are used in chemical approaches.
Bottom Line: How to Transplant Seedlings
One of the most important steps in gardening is learning how to transplant seedlings. By being transplanted, seedlings can grow in bigger containers, giving them the room they need for their roots to spread out and access to additional nutrients. Now that you know what to do, you can make sure your seedlings thrive!
FAQs on How to Transplant Seedlings
What is transplanting seedlings?
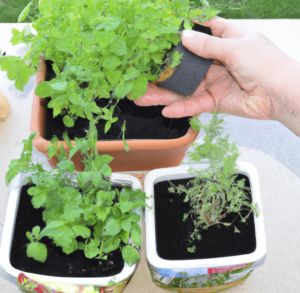
In order to promote greater growth and development, young plants are transferred from a smaller pot or seed tray to a larger pot or garden soil. Giving plants the space and resources they require to thrive can result in healthier, more robust growth.
What is a seedling?
A young plant that has grown from seed and formed its first leaves is called a seedling.
How should seedlings be prepared for transplantation?
- Choose seeds that are appropriate for your region’s climate and season.
- Start the seeds inside in peat pellets, seed trays, or pots.
- Give the seedlings warmth and sunshine.
- Keep the soil moist enough.
- Before transferring the seedlings into the garden, gradually harden them off by exposing them to the elements.
What aspects need to be taken into account when selecting seedlings?
- Select seedlings with the appropriate size, a sturdy stem, and fully formed leaves.
- Choose seedlings that are pest- and infection-free and in good health.
- Verify that the roots are well planted and not crowded.
- Think about the plant’s lifecycle (annuals vs perennials).
What is the hardening-off procedure for seedlings?
The practice of gradually exposing seedlings to the elements over the course of seven to ten days prior to transplanting them into the garden is known as “hardening off.” This improves the young plants’ chances of survival and success by easing the shock of transplanting.
What procedures are followed when preparing a location for seedling transplantation?
- Choose the best seeds or seedlings that are suitable for the soil, sunlight, and local environment.
- When transplanting the plants, handle them gently and minimize their exposure to air and light.
- Ensure that the new location has access to sunlight, the proper soil, and sufficient drainage.
- Give the plants the proper attention, including watering and fertilizing, in accordance with their particular needs, including depth and spacing.
What depth should seedlings be transplanted at?
The same depth at which the seedlings were developing in their original container should be used for planting. Plant rot may result from overburdening the stem, while plant mortality may result from planting too deeply and drying out the stem.
How should the soil be prepared prior to transplant seedlings?
To expedite root implantation and promote robust growth, the soil should be loosened before transplanting, and compost or other organic material should be put into the planting hole.
When transplanting, how should seedlings be watered?
A good soak should be provided to seedlings after transplanting to help them become used to their new surroundings. Avoid overwatering because it might cause root rot and wet soil.
How can seedlings be kept upright when being transplanted?
To assist keep seedlings straight if they are tall or prone to tumbling over, think about adding a stake or other support.
What safety measures should you take when handling seedlings before transplanting them?
Before transplanting, it’s crucial to keep the seedlings’ roots moist, handle them gently to avoid injuring the roots and prepare the soil in the transplant spot by loosening it and removing any weeds or debris. Additionally, the seedlings need to be properly spaced apart.
What precautions must be taken after relocating seedlings?
After transplanting, seedlings need to receive a lot of water, gradually adjust to direct sunlight, be kept warm and protected, have the soil moisture checked, and go without fertilizer for a couple of weeks.
Why are fertilization and irrigation essential for plants?
Fertilization and watering are crucial for sustaining plant development and health. To protect the roots and the growth of seeds, newly transplanted plants, and seedlings, learn how to water your garden efficiently. Fertilization gives plants the nutrition they need to grow into strong, healthy plants.
What do pruning and staking in plant maintenance entail?
Staking is the practice of placing a stake, such as a wooden or metal rod, to support a plant in order to keep it upright and reduce damage from wind or other environmental factors. To promote healthy growth, pruning is removing any dead or damaged branches, leaves, or stems.