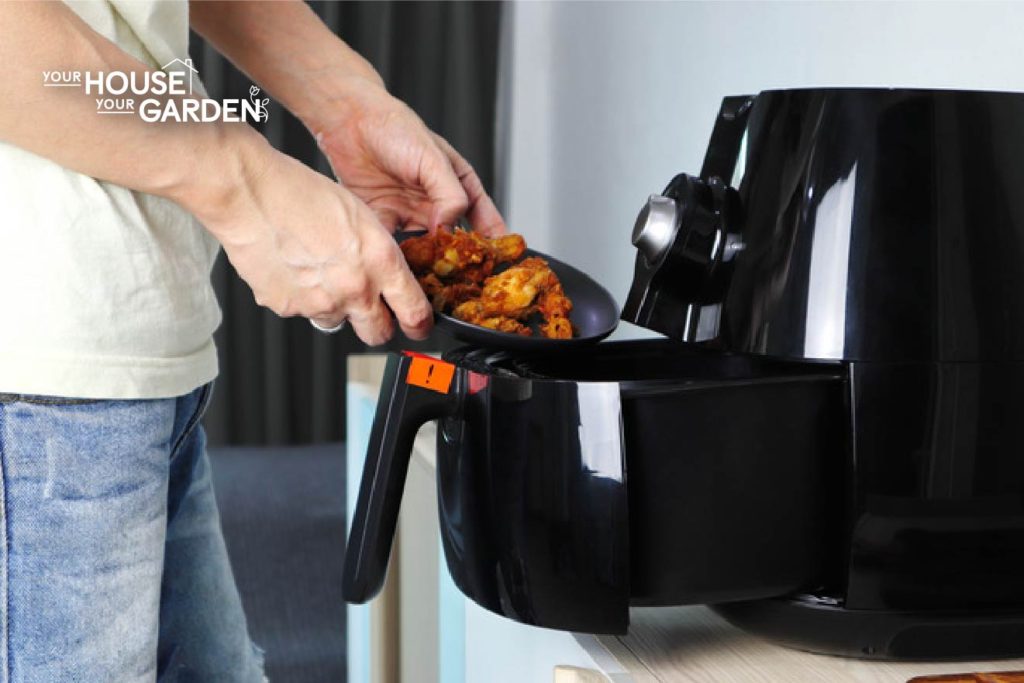
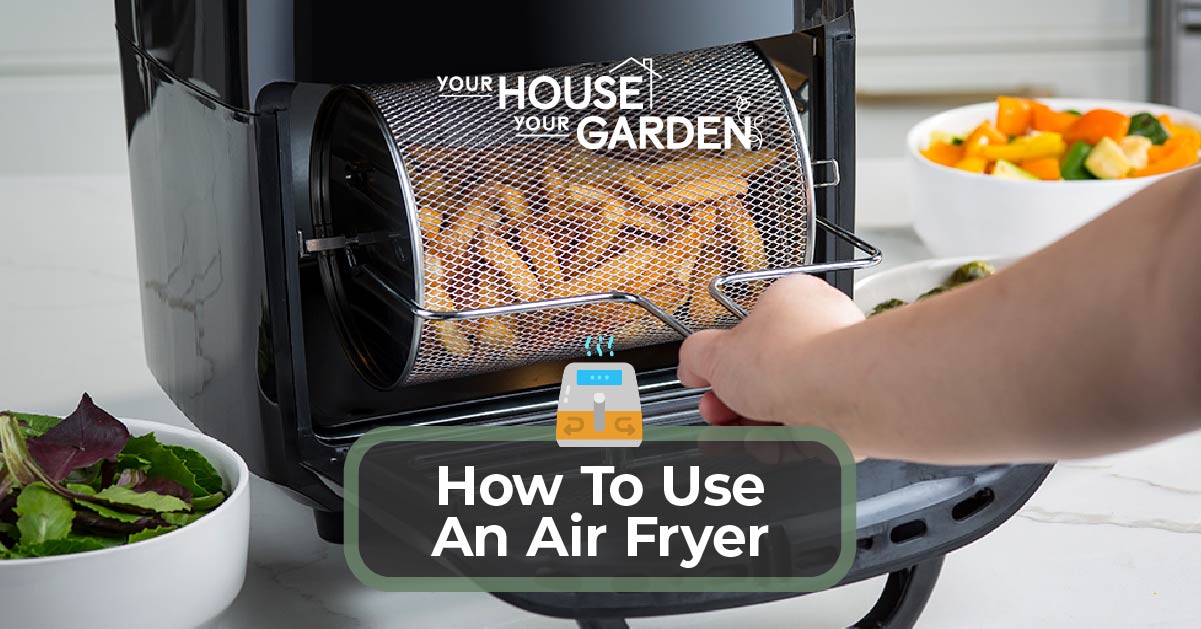
Using an Air Fryer involves the following steps: Plugging the Air Fryer in, choosing the right setting, loading the cooking basket, pressing start, and waiting for the process to finish.
What is an air fryer? Air Fryers are small household appliances that use convection heat to cook food. In recent years, Air Fryers have skyrocketed in popularity, and today, they can be found in nearly 40% of all US households.
If you would like to learn more about how to work an Air Fryer, refer to our Air Fryer usage guide below, it has everything you need to know.
1. Make Sure Cooking Basket Is Clean
Before doing anything, take a moment and check that the cooking basket is clean and free of food residue. If it’s not, remove the basket and wash it with soap and warm water.
Always dry off the basket completely before sliding it back into the Air Fryer. You should also make sure the inside of the Air Fryer (where the cooking basket goes) is clean.
If it’s not, use a damp towel or rag and wipe down the inside of the machine. Once everything is cleaned, place the Air Fryer on a steady surface and plug it in.
2. Open The Basket and Fill It With Food
Now that the Air Fryer is clean and plugged in, slide the basket out and begin filling it with whatever food you wish to cook.
You mustn’t overfill the basket as this can result in an uneven cook. The amount of food you can fit into the cooking basket will depend on the size of your Air Fryer.
Standard household Air Fryers have between 2 and 10 quarts of space, meaning the amount of food you can cook at once depends on your make and model.
How you stack food in an Air Fryer is very important. For example, while french fries can be stacked on top of one another without issue, thick cuts of meat like steak or chicken breasts shouldn’t be stacked.
If you want to cook multiple chicken breasts at once, we recommend buying a rack accessory. These racks fit nicely into the cooking basket and let you stack food items on top of one another.
At this stage, some people like to add a few drops of oil to the cooking basket. You can do this by releasing a few drops into the bottom of the basket or by using a spray bottle to lightly cover your food with oil.
Doing this will give the food a crunchier texture on the outside, which more closely mimics the effects of deep-frying.
When you’ve filled the basket with food, slide it closed.
3. Press Start
At this stage, simply press start and the Air Fryer will begin cooking at 360 F (182 C) for 10 minutes (this may vary from model to model).
If you need to cook for longer, or wish to change the temperature, locate the temperature and time buttons on the display screen and choose your desired settings.
One common question we get is “Do I need to preheat my Air Fryer ”. There’s no straightforward answer to this question, and while most people don’t, there are some cases in which preheating does produce a better product.
When Not To Preheat
- Thick/Raw Cuts of Meat: When cooking large cuts of raw or frozen meat, you don’t need to preheat the Air Fryer. If you do, it’ll cause the meat to overcook on the outside before the heat is able to penetrate the center.
- Food You Don’t Want Crispy: Pre-Heating an Air Fryer with food in the cook basket will cause the food to develop a crispy outer texture. While this might be great for some, it’s not what everyone is after.
- Breaks or Cakes: If you’re cooking breads or cakes, don’t bother running a preheat cycle. If you do, it will leave the outside overly crispy and the inside doughy.
When to Preheat
- Leftovers: Because the inside is already cooked, it’s fine to use the preheating function with leftovers.
- Precooked Frozen Foods: For the same reason, precooked frozen foods are a good candidate for the preheat function.
- Steaks: When cooking at higher temperatures for short periods, the preheat function works great with steaks. Not only does it leave the outside nice and crispy, but the inside stays rare and juicer.
Overall, it doesn’t make much of a difference whether you choose to preheat or not. When in doubt, we recommend not using the preheat setting.
4. Remove Food
Once the cooking process has finished, remove the grilling basket and place it on top of a heat resistance surface. From there, remove the cooked food using the appropriate utensil.
5. Clean Cooking Basket
The last step involves cleaning the cooking basket. If your basket is dishwasher friendly, give it a quick rinse – removing all food matter – and place it on the bottom rack.
If you’d prefer to handwash the basket, but want to enjoy your freshly cooked food first, fill the basket with water and let it sit. Doing this will stop any food material from caking onto the walls.
If you’ve used racks, give the racks a good rinse as well.

Air Fryer Using Tips for Efficiency and Taste of Food
Main Steps and Mistakes When Using An Air Fryer
An Air Fryer can be broken down into the following steps:
- Making sure the basket in clean and plugging the appliance in
- Filling the cook basket with food and pressing start
- Adjusting the temperature or time settings as necessary
- Wait for food to finish cooking
When using an Air Fryer, there are a couple of mistakes you should look out for, the most common being:
- Using Too Much Oil: If you use too much oil, you’re eliminating most of the health benefits Air Fryers have over deep fryers.
- Not Cleaning the Cooking Basket Enough: If you’re not cleaning the cooking basket regularly, built up food residue can impact the taste of whatever it is you’re cooking. If you can’t get around to cleaning the basket after every use, try and clean it at least every other use.
- Overfilling Basket: As we discussed above, some foods can’t be stacked on top of one another.
- Not Rotating Food: Some foods, like french fries or chicken wings, can be stacked on top of one another without issue. However, that doesn’t mean you don’t have to rotate them during the cooking process.
Many of the best Air Fryers come with racks, which when used appropriately, can eliminate the issues caused by food stacking.
Does the Air Fryer Type Affect the Usage Stages?
No, the Air Fryer type does not affect the usage stages. That said, there are some minor differences between the different Air Fryer types you should be aware of:
- Basket Air Fryer: The most common and cost-effective option, this version uses a pull-out basket into which food is placed. In most cases, you’ll need to stir/flip the food a few times during the cooking process.
- Paddle Air Fryer: Although more expensive, Paddle Air Fryers are self-tending, meaning they stir/turn over food automatically. This is the best option for those who want to ‘set it and forget it’.
- Cylindrical Air Fryer: These Air Fryer’s strongly resemble the classic deep fryer and use removable drawers and baskets. THey tend to preheat quicker than standard basket air fryers but are also more expensive.
- Convection Oven Air Fryer: Many modern convection ovens come with an Air Fryer mode, which when used, functions more or less the same as a basket Air Fryer.
Is Using An Air Fryer for Vegetables Better Than Using A Wall Oven
Yes, using an Air Fryer for vegetables is better than using a wall over. Not only do they cook much faster than wall ovens, but wall ovens can take up to 10 minutes to preheat.
That said, large vegetables – like squash and large potatoes – are better suited for cooking in the oven.
When it comes to the question of Air Fryer vs. wall oven for cooking vegetables, the Air Fryer is the winner.
Is Using A Paddle Type Air Fryer Better Than Using A Basket Type Air Fryer For Frying Food?
Yes, using a paddle Air Fryer for frying food is better than using a basket type Air Fryer. While both versions are more than capable of frying food, the paddle Air Fryer will automatically stir/turn over your food, making it a better option.

Alternatives Uses Of An Air Fryer for Other Uses Besides Frying Food
Air Fryers can be used for much more than just mimicking the effects of a deep fryer. To learn more about the different Air Fryer uses, refer to the sections below.
Use An Air Fryer As A Toaster
- Preheat Air Fryer on a low temperature setting
- Place a rack in the middle of the cooking basket
- Place bread slices on the rack
- Slide cooking basket closed
- Let cook for 5 minutes
If you don’t have racks, remember to flip the toast half way through the cooking process. If you don’t, it’ll be over toasted on one side and under toasted on the other.
Use An Air Fryer As A Dehydrator
To use an Air Fryer as a dehydrator, follow these steps:
- Preheat airfryer to 190 F or less
- Insert racks
- Place fruit or vegetables on the racks
- Let the process run for several hours
Some Air Fryers actually come with a Dehydrator setting. If yours does, use this preset.
Use An Air Fryer As A Microwave
Air Fryers can’t be used as a microwave. While Air Fryers use convection heat to cook food, microwaves use microwave radiation to heat leftovers.
That said, Air Fryers can easily be used to reheat food.

