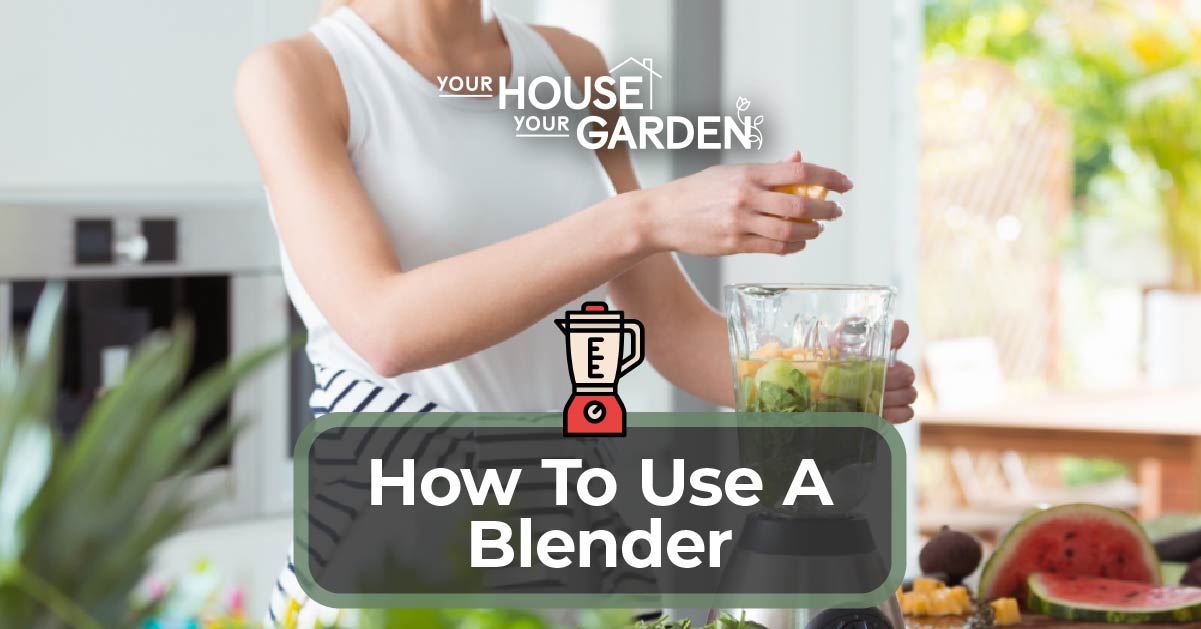
Using a blender involves the following steps: plugging the blender in, locking the blending pitcher into place, filling it with the ingredients, adding the proper amount of water, closing the lid, and pressing the start button.
What is a blender? A blender is a small kitchen appliance used to crush, shred, blend, and puree food. The average blender stands 14 inches high, has several speed settings, and comes with a 1450 watt motor.
To learn more about how to work a blender, refer to our in depth blender usage guide below, it covers everything you need to know.
1. Make Sure The Blender Is Clean And Plug It In
The first step to using a blender involves setting it down on a steady surface and plugging it in. Before you do, however, make sure the blender is clean, especially the blender pitcher.
The best way to check if the blending pitcher is dirty or not is with a simple eye test. Additionally, it’s a good idea to separate the glass portion of the pitcher from the plastic bottom, as food – especially small seeds – is prone to getting stuck in this area.
2. Connect Blending Pitcher To Blender And Put Ingredients Inside
Next, connect the base of the blending pitcher to the blender. On some models, you’ll have ro rotate the pitcher to lock it in place.
Once in place, you can begin filling the pitcher with whatever ingredients you wish to blend. When doing so, it’s a good idea to pour a little bit of water into the bottom of the jug. Not only will this make it easier for the blender to get going, but it will help lubricate the blades and keep them in good shape.
When making a smoothie, pay special attention to how you layer the different ingredients in the pitcher. For example, always begin with liquids. The amount of liquid you add is important as it will ultimately determine the consistency of your smoothie.
After liquids, we recommend adding any powders or sweeteners you plan on using. This is especially important when adding protein powder. If added last, the powder may not completely dissolve, resulting in an unpleasant chalky texture.
Next, add the fruits and vegetables starting from the softest to the hardest. If you’re using frozen fruits, put these at the very top.
3. Close Lid And Press Start
Once you’ve loaded all your ingredients and you’re ready to go, close the lid and press start. Nearly all blenders will come with different settings that control how fast the blades spin. Always start from the slowest setting and work your way up.
If your blender is heavily packed, or contains a good amount of frozen fruits/vegetables, work through the settings slowly. Always pay attention to the sound of the motor. If it sounds like it’s struggling, go down a setting or two.
Most blenders also come with a ‘Crusher’ setting, which is the best option for blending ice. If you’ve added lots of ice or frozen foods, start out by using this option.
If your blender stalls out at any point during the blender process, you may have to turn the appliance off, open the lid, and manually move the ingredients around.
4. Turn The Blender Off And Enjoy
When you’ve achieved the desired consistency, turn the blender off and remove the pitcher from the blender body. From here, remove the lid and pour the contents into whatever cup or container you like.
Remember, you don’t have to consume it all at once, and if you wish to store your smoothie or blended beverage, the entire pitcher can easily be placed in the fridge with the lid on.
5. Clean The Blender
Once done, separate the pitcher from the base and clean both separately. When cleaning the base, it’s a good idea to remove the gasket located at the bottom of the base as food often becomes lodged under the gasket after repeated use.
If you don’t have time to clean the blender right away, leave the pitcher and base together, fill the pitcher with water, and let it soak until you’re ready to clean it. By doing this, you stop any leftover smoothie residue from hardening, which can be difficult to clean later on.

Blender Tips For Efficiency And Taste
When using a blender, here are a couple tips and tricks to keep in mind:
- Use Frozen Bananas For Smoothies: Although it may take longer to blend, frozen Bananas create an ice-cream like texture and consistency that is hard to create with standard fresh bananas.
- Soak Hard Nuts Before Blending: If you plan on blending hard nuts, let them soak in water for 20 minutes or so before blending. Not only will this make them easier to blend, but it will keep your blades sharp for longer.
- Use Spinach And Avocados: Spinach and Avocados are nutrient rich green vegetables that don’t come with a strong green vegetable flavor.
- Consider Blending Power First: Some protein powders, especially those of the Whey variety, can be difficult to dissolve completely in water. Because of this, we like to blend protein powder first, in straight water. Once all powder is completely dissolved, you can begin filling your blender with whatever ingredients you wish to process.
- Don’t Be Afraid To Add Water: If your blender is struggling, add a bit of water to the mixture. Doing this will reduce the overall thickness, making it easier for the blades to cut through whatever it is you are blending.
Main Steps and Mistakes For Using A Blender
Using a blender can be broken down into the following steps:
- Placing the blender on a steady surface and plugging it in
- Filling the the blender pitcher with ingredients, starting with water followed by the softest ingredients
- Closing the lid and pressing start
While using a blender is pretty straight forward, there are some common mistakes people make, the most important being:
- Don’t Overload The Blender: If you overfill the blender pitcher with tough ingredients, it can place strain on the motor, which can result in damage.
- Not Using The ‘Crusher’ Feature With Ice: If you’re blending ice, always use the blenders ‘Ice’ or ‘Crusher’ pre-set. Not only is it more efficient, but it will save the blades and motor from unnecessary wear and tear.
- Not Using Enough Water: Blenders aren’t meant to dry blend and you always need at least a little bit of water or liquid in the bottom. If you’re having trouble blending, chances are you’re not using enough water.
- Not Cutting Up Fruits And Vegetables Before Blending: Regardless of how powerful your blender is, you can significantly reduce the strain on the motor by chopping fruits and vegetables into smaller pieces.
- Not Layering Ingredients Properly: As mentioned above, you should layer ingredients in your blender from softest to hardest, starting with liquids and finishing with ice/frozen foods.
- Ignoring Pre-Sets: The best blenders typically come with a wide array of pre-set functions that make using the blender easier and more efficient. If you have a blender like this, take the time to learn the different presets and options it comes with.
Does The Blender Type Affect The Usage Stages?
Yes, the blender type affects the usage stages. To understand exactly how the usage stages are affected, we’ll start by looking at the three main blender types.
- Countertop Blenders: The most common type, household blenders are made up of a body and pitcher and are used to chop, crush, shred, and blend food. Vitamax is the most popular brand of Countertop Blenders.
- Immersion Blenders: Also known as a stick blender, Immersion Blenders are hand held appliances with blending blades on the end. To use immersion blenders, plunge the blade-end into your mixture of liquid/fruits/vegetables/etc. While holding the button.
- Personal Blenders: Similar to countertop blenders but smaller in size and the pitcher doubles as a to-go cup. Common brands include Ninja and Bullet.
As we can see, using an immersion blender is much different than using a countertop or personal blender.

When To Prefer A Blender Over A Juicer
Blenders are preferable over Juicers when you want to create a nutritious, fiber-rich drink. Juicers are designed to extract juice from fruits and vegetables while leaving behind all the pulp and other fibrous bits.
Because of this, Juicers produce juice that’s high in sugar and low in fiber. Blenders produce the opposite.
Moreover, juicers aren’t equipped with the blades or the power to crush ice, frozen berries, nuts, and other hard food ingredients. When it comes to the question of blender vs. juicer, blenders are more versatile.
Alternative Uses Of A Blender For Other Uses Besides Blending Food
When used correctly, Blenders can perform a variety of interesting functions. To learn more about the different blender uses, refer to the sections below.
Use A Blender As A Mixer
To use a blender as a mixer, follow these steps:
- Plug blender in
- Fill it with ingredients and close the lid
- Blend at lowest setting
Use A Blender As A Coffee Grinder
To Use a blender as a coffee grinder, follow these steps:
- Plug blender in
- Fill blender with the amount of beans you wish to grind
- Press start and turn to highest setting
That said, blenders are not designed to process dry foods, meaning blenders are not to be used as a coffee grinder, although that can be useful in a pinch.
Use A Blender As A Food Processor
A Blender cannot be used as a food processor. Food processors can perform many dry tasks, like kneading bread and mixing dough. Blenders require liquid to blend.

