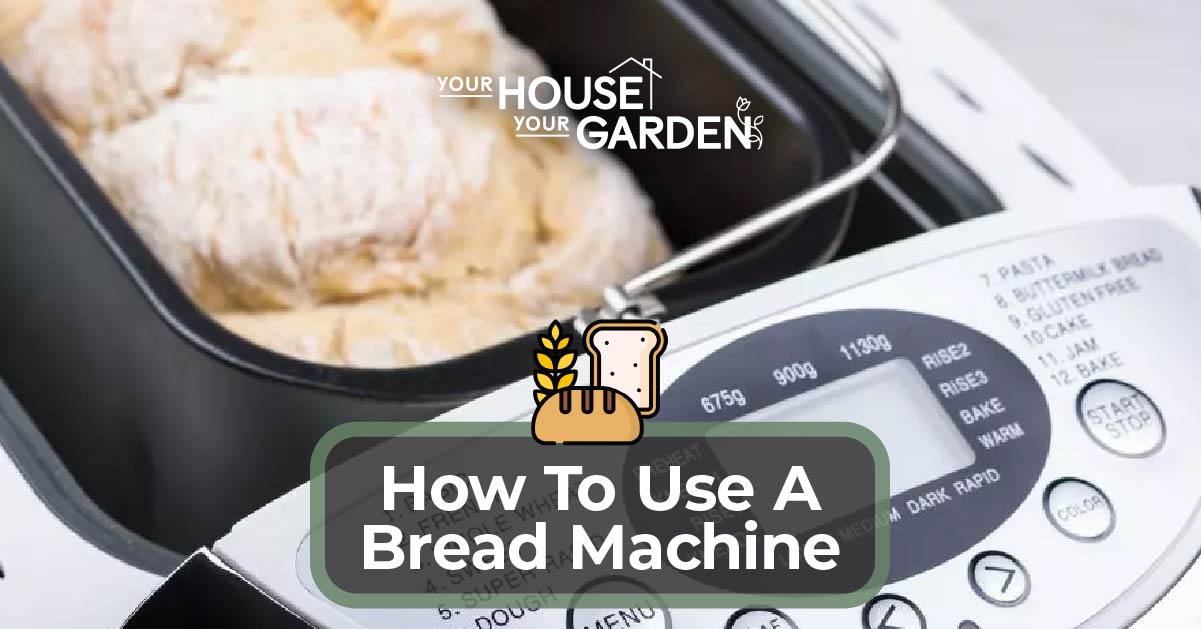
Using a bread machine involves the following steps: picking out your ingredients, getting to know your bread machine, placing ingredients into the bread pan, selecting the right preset and timer settings, closing the lid, and pressing start.
What is a bread machine? Bread Machines are small kitchen appliances that turn raw ingredients into bread. Because of their simplicity and efficiency, bread machines have grown rapidly in popularity over the last five years
If you would like to learn more about how to work a bread machine, refer to our in-depth bread-machine usage guide below.
1. Pick Your Ingredients
The first step in using your bread machine is to read your recipe and pick out the required ingredients. Most bread machines will come with a booklet containing several different recipes you can choose from.
Regardless of which recipe you go with, most require these common ingredients:
- Flour
- Water
- Milk
- Salt
- Yeast
- Oil/Butter
- Sugar
If you’re looking for a basic recipe, we recommend using the following:
- 1.25 cups of water
- 1 tablespoon of butter
- 1 teaspoon of salt
- 3 cups of flour
- 1.5 tablespoons of active dry yeast
If you want to make the bread firmer, you can do so by adding more flour. Moreover, you can add ingredients like brown sugar, chocolate, lard, and others for a wider variety of flavors.
All flour falls into two main categories, weak and strong flour. Strong flour has higher protein content, meaning increased levels of gluten. This is the type of flour you want for bread making as it will cause the bread to rise better.
By contrast, weak flour is ideal for cakes and pastries as it contains less gluten.
2. Get To Know Your Bread Machine
When using a Bread Machine, there are three main parts you should know about, the Bread Pan, the Bread Paddle, and the Body.
Bread Pan: Where the water, flour, salt, and other ingredients are loaded into.
Bread Paddle: Sometimes referred to as the blade, the paddle is responsible for mixing the ingredients and kneading the bread during the baking process.
Body: The pan and paddle fit into the body, which comes equipped with several presets and a timer function.
When getting to know your Bread Machine, it’s important you determine its max water capacity. How much water your bread machine can hold will decide how much bread it can make at once.
For example, a bread machine with a total water capacity of 10 cups will make 1.5 pounds of bread. At 12 liters, the number increases to 2 pounds.
3. Place Ingredients Into the Bread Pan
Once you have all your ingredients together and ready to go, place them into the bread pan starting with the water.
When all ingredients have been loaded, place the pan inside the bread machine body and the paddle inside the pan. When all parts are in place, close the lid and plug the bread machine in.
4. Programming The Bread Machine
All bread machines come with an array of pre-programmed options to choose from. While these options change slightly from one machine to the next, nearly all models will include white bread, Rye, French Bread, Sour Dough, and Whole Wheat.
Some Bread Machines even come with a Curst setting, allowing you to choose between light, medium, and dark.
When you choose a pre-set, the timer will be automatically set to the appropriate amount of time. If you want, the bake time can be adjusted using the display. Once you’ve chosen the appropriate setting, press start and wait for the process to finish.
5. Remove Freshly Baked Bread
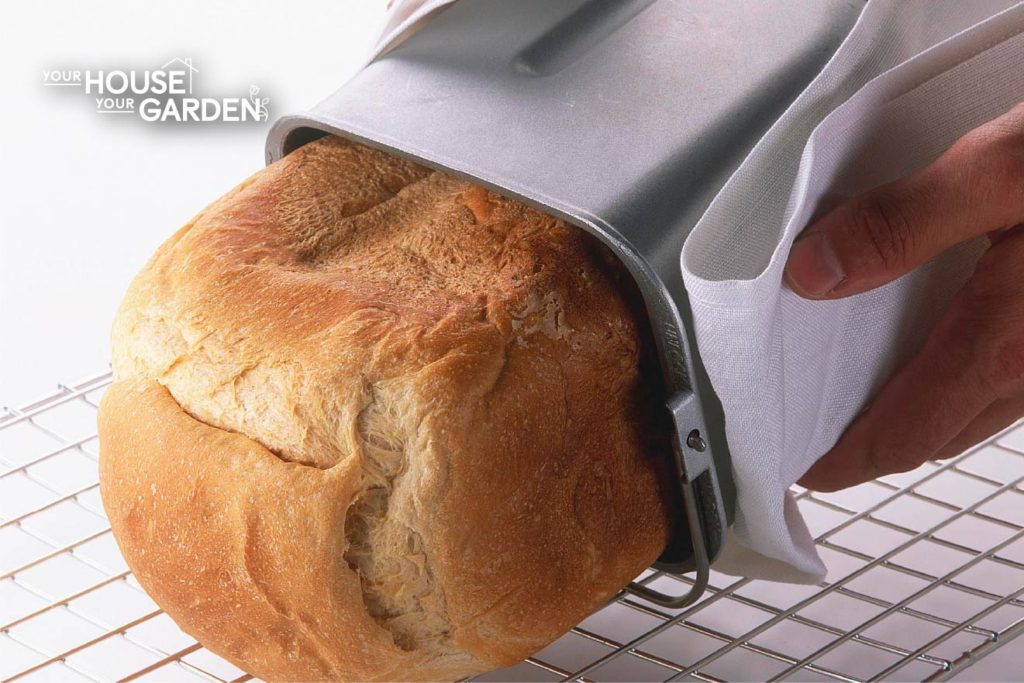
When the baking process has ended, open the bread machine lid and remove the bread pan. From there, remove the bread by giving it a little shake. If the loaf doesn’t come out easily after a few good shakes, let it sit for 5 minutes and try again.
6. Clean Pan and Paddle
Depending on the size, most pans and paddles can be loaded directly into the dishwasher after a good rinse. If your pan and paddle aren’t dishwasher safe, then give them a quick clean with dish soap and hot water.

Bread Machine Tips for Efficiency and Taste of Food
When using a bread machine, there are a few tips in tricks you can use for improved efficiency and taste, the most noteworthy being:
- Always Use Fresh Yeast: Using old yeast will result in bread that doesn’t rise fully. When using your bread machine, always add fresh yeast.
- Program the Timer For the Morning: Most bread machines can be set to operate on a timer, meaning you can add ingredients at night and have fresh bread waiting for you when you wake up.
- Use Real Sugar: Use real sugar, and not sugar substitutes. Real sugar feeds the yeast and helps the bread to rise.
- Pay Attention To the Rise: If your loaf rises fast and then collapses, chances are you’re using too large a recipe for your bread machine.
- Know the Types of Flour: As mentioned above, all-purpose flour isn’t the same as bread flour as the latter has a higher protein content than the former.
Main Steps and Mistakes for Bread Machine Usage
Using a Bread Machine can be broken down into the following steps:
- Reading the bread recipe and gathering the appropriate ingredients.
- Place the ingredients into the bread pad.
- Place the bread pan into the bread machine body and the bread paddles into the pan.
- Close the lid.
- Choose the appropriate pre-set and press start.
That said, some of the best bread machines come with a crust setting, which you choose at the same time you select which preset to use.
Does The Bread Machine Type Affect The Usage Stages?
Yes, the bread machine type affects the usage stages. To understand how, we must first look at the six different bread machine types.
Adjustable Bread Machine: An Adjustable bread machine lets you adjust the size of the loaf the machine bakes.
Programmable Bread Machine: The most common type, programmable bread machines come with several pre-programmed settings allowing you to cook several different types of bread.
Delayed Start Bread Machine: Delayed start machines allow you to set a start time at some point in the future, making sure you have fresh bread when you want it.
Jam-Maker Bread Machine: Comes with a built-in jam maker, meaning you can make fresh jam at the same time as fresh bread.
Rapid Bread Machine: Great choice if you’re short on time. Instead of the standard 3.5 – 4 hours normally required to make bread, Rapid Machines can make bread in just under an hour.
Non-Stick Bread Machine: Comes fitted with a non-stick coating bread pan making it easy to remove bread once the baking process has finished.
When To Prefer A Bread Machine Over An Oven
A Bread Machine is preferable over an oven when you want to easily bake specialty breads with minimal supervision required.
When baking bread, Bread Machines offer several advantages over ovens, the most noteworthy being:
- Less Time: Bread Machines require less time to bake bread than ovens.
- Less Supervision: Unlike ovens, bread machines are very hands off and once the ingredients have been loaded require little to no supervision.
- No Kneading Required: Bread Machines come equipped with a paddle which is used to automatically knead the dough. When baking bread in an oven, you’ll have to knead by hand.
- Easier To Make Specialty Breads: Because of the number of presets, Bread Machines allow you to bake several types of specialty breads with ease.
- Easy To Clean: Due to their simplicity, Bread Machines require very minimal cleaning.
There are, however, some disadvantages to bread machines you should be aware of. For starters, the bread is typically denser compared to bread baked in the oven. Secondly, the average bread machine can only bake one loaf at a time whereas an oven will allow you to bake several.
When it comes to the question of Bread Machine vs. oven for baking bread, the bread machine has many clear advantages.
Alternative Uses of a Bread Machine for OTher Uses Besides Baking Bread
When used correctly, Bread Machines can be used to perform a variety of functions. To learn more about the different Bread Machine uses, refer to the sections below.
Use a Bread Machine As A Mixer
To use a Bread Machine as a mixer, follow these steps:
- Place ingredients/food materials inside the Bread Pan.
- Close the lid.
- Select the ‘Knead’ option on the display.
Not all bread machines come with a knead option. If yours doesn’t, it can’t be used as a mixer.

Use A Bread Machine As A Slow Cooker
To use a Bread Machine as a slow cooker, follow these steps:
- Place ingredients into the bread pan.
- Close the lid and choose the appropriate pre-set.
- Set a timer and check on your dish periodically.
While a Bread Machine can be used as a slow cooker, you’ll have to experiment around with the different settings to find which ones work the best.
Besides bread, the most common foods people cook in a bread maker include soups, stews, and eggs.
How To Use A Bread Machine As An Instant Stirrer
To use a bread machine as an instant stirrer, follow these steps:
- Place the ingredients into the bread pan.
- Close the lid and select the ‘Kneading’ preset.
- Wait several minutes and check on the progress

