
Home » Home Remodeling » Cabinets » Glazed Kitchen Cabinets
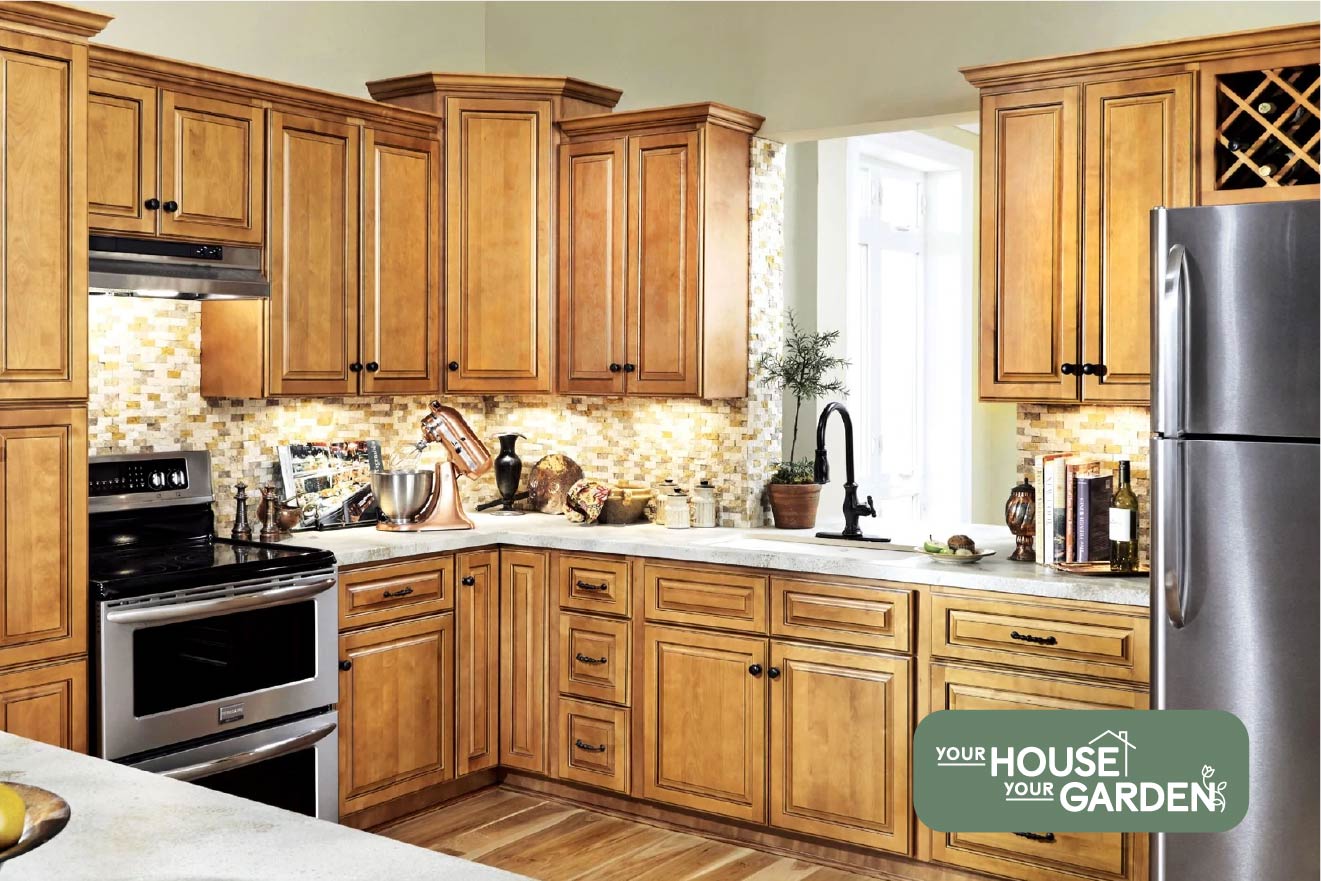
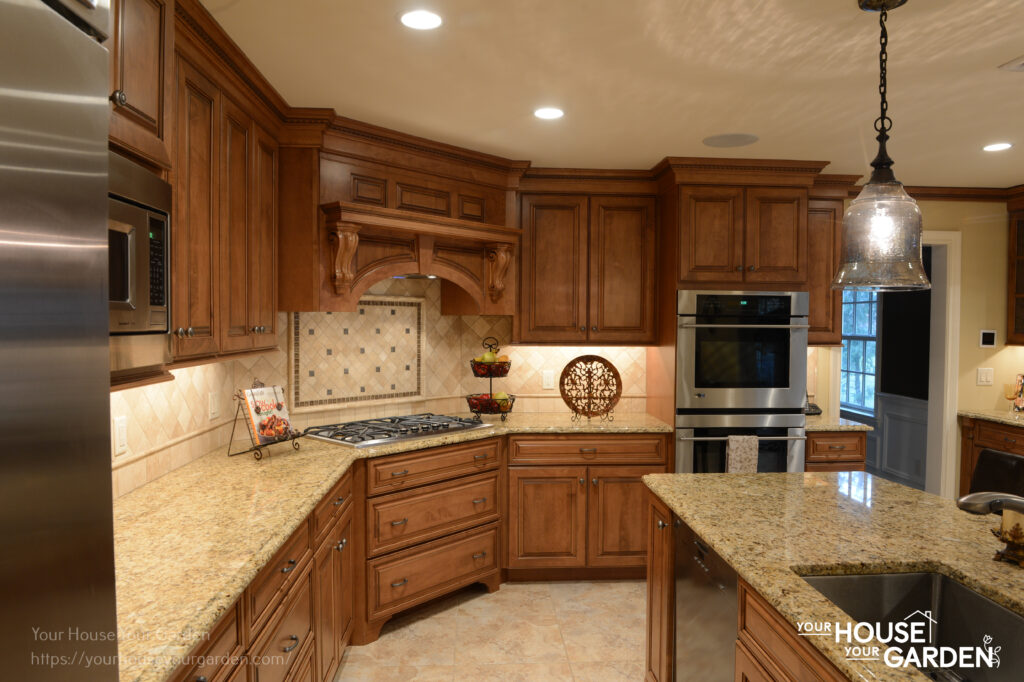
Have you been looking at more vintage, rustic, or traditional interiors and decided that the glazed kitchen cabinets in the photo would be perfect for your kitchen? Cabinet glazing is a process that can be done by professionals or homeowners in order to give cabinetry a more dated and lived-in look. If your custom kitchen cabinets are up for glazing, here’s what you need to know.
Similar to staining kitchen cabinets, cabinet glazing is when a second color or formula is added on top of cabinets that have just been stained or painted in order to enhance the architectural details of the cabinetry. Also known as antiquing cabinets, glazing cabinets accentuate the design of a cabinet door with its oil-based or water-based formula and add a rustic or lived-in feel.
However, cabinet glazing is recommended for painted cabinets or cabinets that are going to be painted first. This is because glazing is a protective layer that also brings out or highlights the base color of your cabinetry.
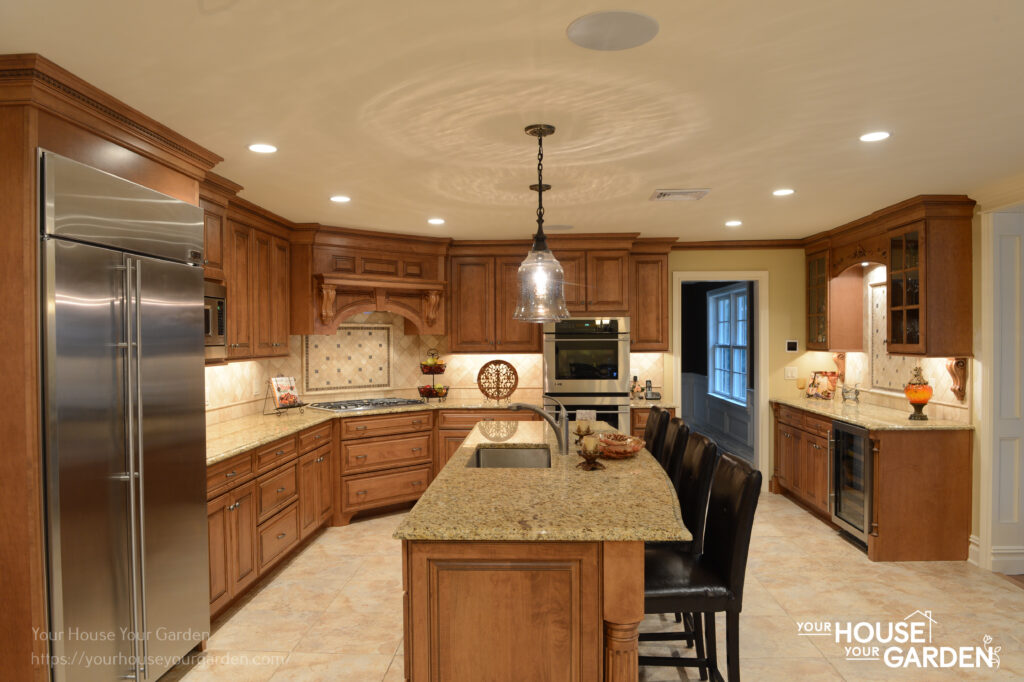
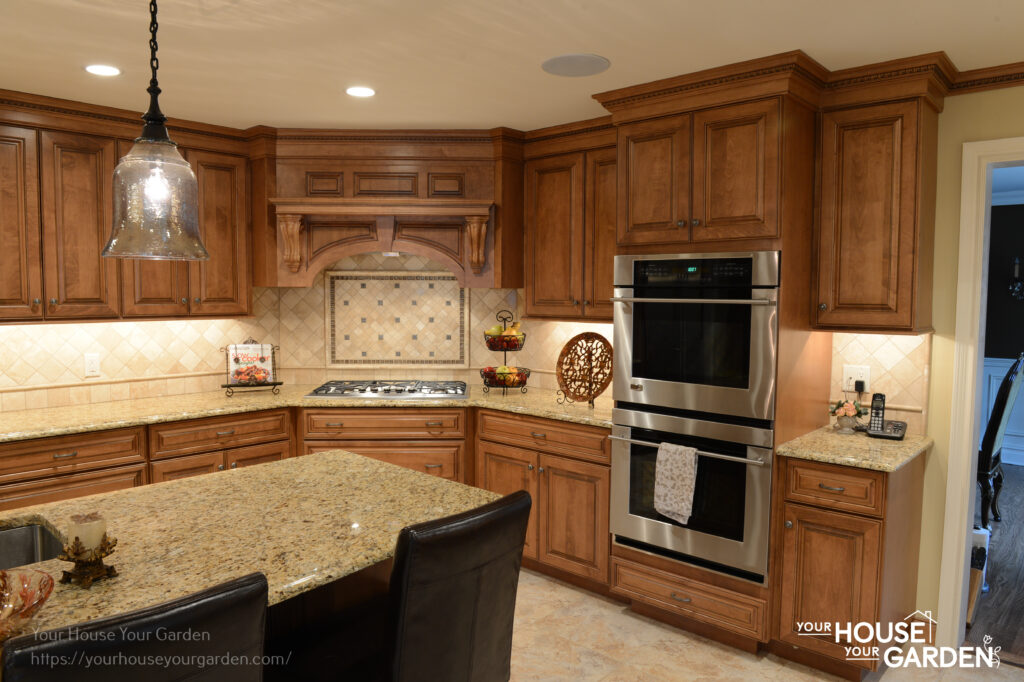
While cabinet glazing is not the most popular type of painted cabinetry, they are still in style in many homes. However, due to their dated-looking nature, glazed cabinets are more popular in interiors that have a more traditional look such as farmhouse-inspired and country-style interiors. For homeowners undergoing a kitchen remodel and aiming for a more modern, minimalist interior, glazed kitchen cabinets may not be the type of cabinetry that will best suit your space. In general, kitchens with a more traditional look will be the best homes for glazed cabinets.
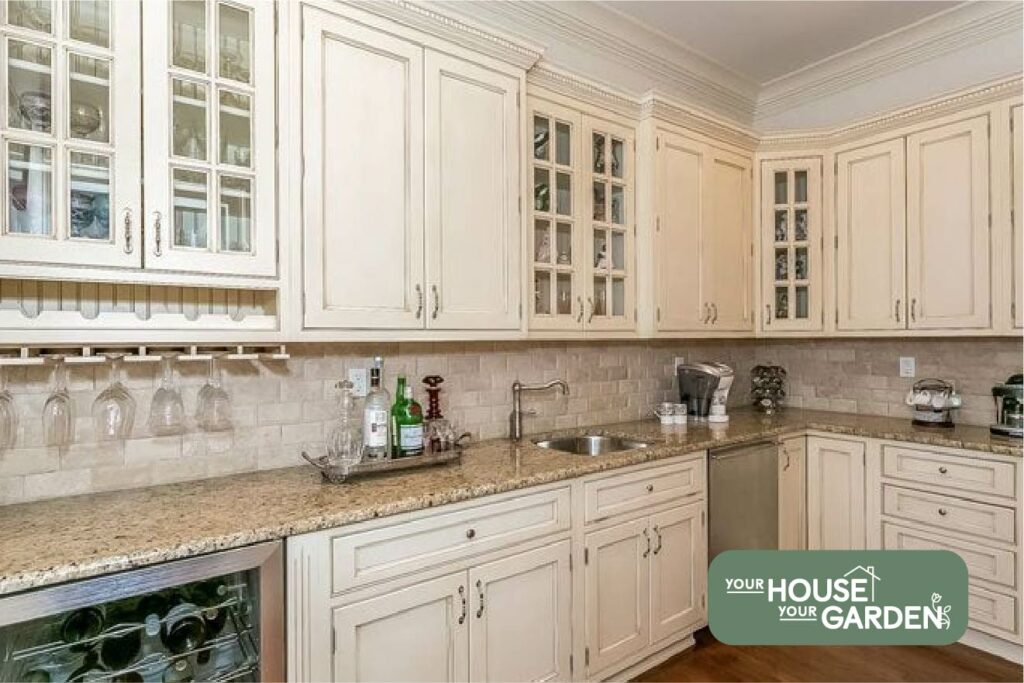
A popular choice for homeowners who prefer this kitchen cabinet style is white glaze.
Before jumping into glazing your cabinets, there are pros and cons to glazing your cabinet doors:
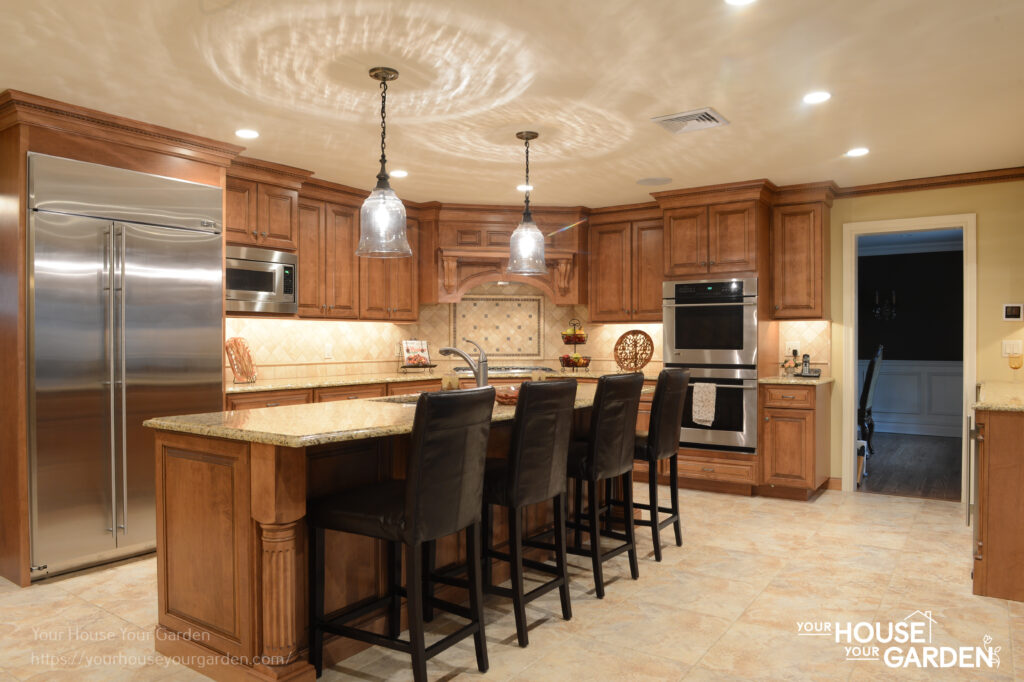
Glaze Adds Depth: Applying a coat of water or oil-based paint on top of freshly painted cabinetry is a cost-effective way to add depth to the doors and drawers of a cabinet. Cabinet glazing can highlight the wood grain of the cabinet surface or showcase the patterns of a cabinet door.
The Glaze is Perfect for Traditional Interior Design Styles: To go with the overall look of your space, a glazed cabinet surface complements the rustic, country, and farmhouse style interior. Unlike modern interiors, cabinet glazing makes a cabinet door look more antique and can highlight the handcrafted details on the cupboard framing or other surface details on your custom kitchen cabinets.
Can be Done as a DIY Project: While it is possible to purchase glazed cabinets, you can also glaze your kitchen cabinets by yourself. With the right paint or glaze and materials, cabinet glazing can be a fun project to do along your home improvement journey.
The Whole Glaze Can be Time Consuming: From picking out the right glaze, paint thinner, mastering your glazing technique, and adding the subtle shading to your cabinets, there is a lot of preparation that goes into glazing painted cabinets which can be too time-consuming for some homeowners.
Glaze May Not Increase the Value of Your Home: As previously stated, glazed cabinet doors are not every homeowner’s painted cabinet of choice. While you may prefer a more traditional look, if you are planning to sell or rent out your home in the future, glazed kitchen cabinets may not be the best idea.

Considering all of the different materials like painter’s tape, paint stirrer, Sherwin Williams paint, and the glaze itself, glazing will cost about $10 to $25 per square. Glazing is a simple way to customize your cabinets but is generally more expensive than simply painting or staining cabinets.
If you’re wondering if there is a set limit or if you can apply as many lines of glaze as you want, here’s our step-by-step guide to DIY-ing your kitchen cabinets.
First, set up your workspace by covering the floors, backsplash, and other areas of your kitchen with drop cloths and close off small sections with painter’s tape. This way, the glaze will not stain other elements in the kitchen. It is also recommended to take note of the exact measurements of your cabinets so that you have enough glaze color to cover all of the cabinets. Set aside your foam brush, Sherwin Williams paint, glaze color, paint thinner, and a clean rag before your start.
To prepare your cabinets for paint and glaze, remove hardware, handles, pulls, and knobs. This way, your cabinets can dry completely undisturbed and you will not have to quickly wipe off glaze splatter on the accessories of your cabinetry.
In order to create a clean layer of paint and glaze, it is important to use a degreasing cleanser on the surface of the cabinets. Afterward, ensure that all dirt is removed using a deglosser or liquid sandpaper. For cabinets that are still going to be painted with a base color or stain, sand the doors and drawers with sandpaper to smooth out the surfaces.
As previously stated, water and oil-based glazes will accentuate the architectural and design elements of a cabinet best when the cabinetry has a fresh coat of paint. In general, oil-based paint is recommended over latex paint because it is the more durable option. After applying your chalk paint or one with a satin finish on your cabinets in a straight motion, let the cabinets dry for at least 24 hours or for the dry time outlined in the manufacturer’s instructions.
Remember, an oil-based glaze is best for stained cabinets while a water-based glaze formula is ideal for painted cabinets. If you are not using a pre-mixed glaze, combining four parts glaze with one part of Sherwin Williams paint is a safe starting point. Of course, you can tweak the ratio depending on your desired outcome (e.g., how much of a dark glaze you want to come through for extra shadows.)
Liberally apply glaze on your cabinets and drawers with as many lines as necessary and with one cabinet at a time. Depending on your painting preference, work using your brush to apply glaze in a small circular or straight motion with a foam or bristle brush. For the optimal desired outcome, apply your glaze the same way you applied your oil or latex paint.
Afterward, wipe the excess glaze with a clean rag until it is thinned out and you have achieved your finished look. If you are unsure of how glaze should look on a cabinet after being applied, feel free to refer to a photo provided by the manufacturer or search for an online reference. Allow the glaze to dry for at least 24 hours before applying an optional topcoat.

Your House Your Garden covers all the essential topics about your home garden including best planters, soil, fertilizers, tools, planting, gardening guides, DIY and more. One place to find your favorite gardening tips, inspiration, and product reviews.